How to Vertically Mount GPU: A Comprehensive Guide
Introduction
Mounting your GPU vertically enhances the visual appeal of your computer setup, especially for gaming rigs where aesthetics matter. This guide dives into the steps and considerations for vertically mounting your GPU. Whether you’re a novice or a seasoned builder, you’ll find the information needed to optimize your setup.
Understanding vertical mounting’s impact on airflow and system performance is crucial before making changes. Let’s explore this mounting method, starting with what it entails and the reasons behind choosing it.

Understanding Vertical GPU Mounting
What is Vertical GPU Mounting?
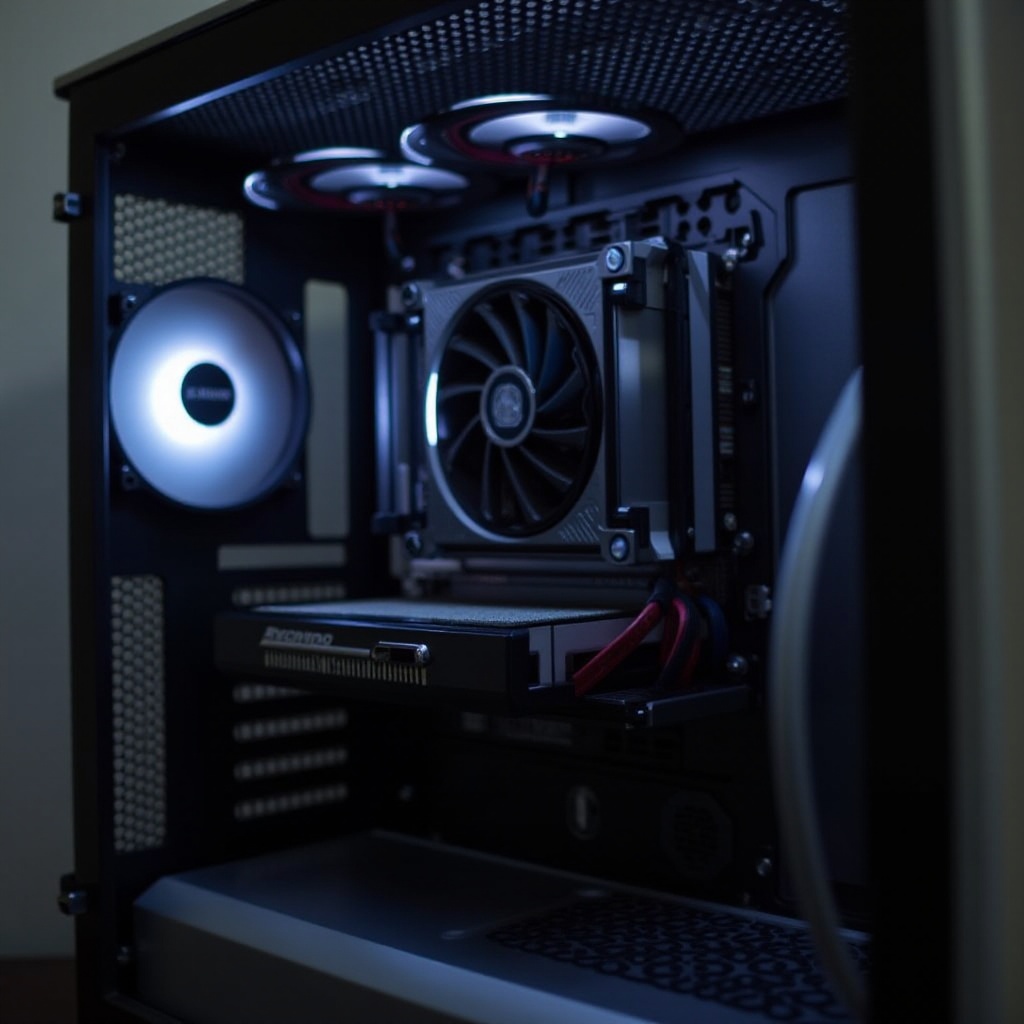
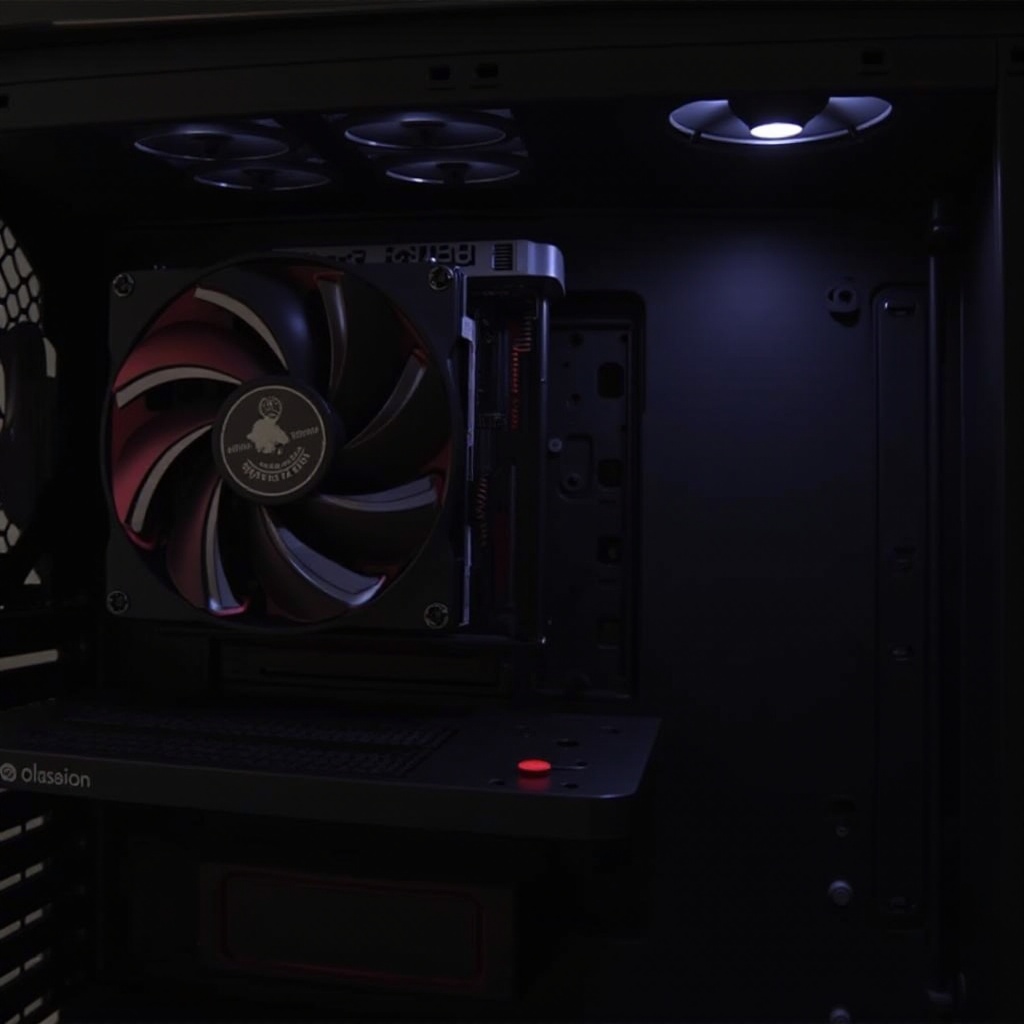
Vertical GPU mounting involves positioning the graphics card in a vertical orientation within the PC case. This is accomplished using a specialized bracket or mount that supports the GPU’s vertical alignment. The main aim is to showcase the GPU’s visible side, which often has colorful designs and cooling solutions.
Benefits of Vertical GPU Mounting
Vertical mounting offers several advantages:
– Aesthetics: Enhances your build’s overall appearance by displaying the GPU.
– Showcasing Design: Allows you to highlight RGB lighting and custom cooling solutions designed to be seen.
– Improved Airflow: In some setups, it can enhance airflow by reducing obstructions between the GPU and cooling fans.
With a clear understanding of what vertical mounting is and its benefits, it’s time to look at the preparation steps for a successful installation.
Preparing for Vertical GPU Mounting
Case Compatibility
Before making physical adjustments, check that your PC case supports vertical mounting. Many modern cases offer this feature, but it’s crucial to verify:
– Pre-installed Vertical Mount Brackets: Some cases come with these brackets, while others may require an additional purchase.
– Adequate Room: Ensure there’s enough space for the GPU to fit vertically without hindering airflow or contacting other components.
Necessary Tools and Accessories
Prepare the following tools and accessories for a smooth installation:
– Vertical PCIe Riser Cable: Essential for connecting the vertically positioned GPU to the motherboard.
– Screwdriver: To remove and secure case panels and brackets.
– Additional Cooling Solutions: Consider installing more case fans if your system needs better thermal management.
With your case and tools ready, it’s time to dive into the installation process.
Step-by-Step Guide to Vertically Mounting a GPU
Step 1: Preparing Your Workspace
- Power Down Your System: Unplug the PC from power sources and remove any peripherals.
- Disassemble Case Panels: Remove the side panels and any obstructions that might hinder installation.
- Organize Components: Set aside necessary components for easy access during the installation.
Step 2: Installing a Vertical Mount Kit
- Remove Existing GPU: Carefully disconnect your current GPU if already mounted.
- Install the Bracket: Secure the vertical GPU bracket or mount in the designated bay, ensuring it’s tightly fastened.
- Connect the Riser Cable: Attach the PCIe riser cable to the GPU slot on your motherboard.
Step 3: Securing the GPU Vertically
- Position the GPU: Align the GPU vertically and insert it into the riser cable’s PCIe slot.
- Secure the GPU: Use screws or brackets provided to fix the GPU into place.
- Reassemble Case Parts: Replace case panels and reattach any removed components.
With the GPU mounted vertically, explore measures needed to address airflow and cooling challenges.
Addressing Potential Challenges
Airflow and Cooling Considerations
Vertical GPU positioning may alter airflow dynamics. To maintain optimal cooling:
– Install Additional Fans: Position extra fans to improve circulation around the GPU.
– Monitor Temperatures: Regularly check temperatures to prevent overheating.
PCIe Riser Cable Concerns
Ensure the PCIe riser cable is compatible with your motherboard and GPU. Consider:
– Cable Length and Quality: Use high-quality cables that support necessary transfer speeds.
– Connection Stability: Firmly secure the cable to avoid disconnection during heavy workloads.
Having tackled potential challenges, it’s essential to optimize your system for sustained performance.
Optimizing GPU Performance Post-Mounting
Enhancing Cooling with Additional Fans
- Strategic Fan Placement: Place fans to direct air towards and away from the GPU.
- High-Efficiency Fans: Invest in fans offering high airflow without excessive noise.
Managing Cable Clutter
Proper cable management contributes to a cleaner build and improved airflow:
– Cable Ties or Velcro Straps: Tidy up loose cables to prevent obstruction.
– Route Cables Neatly: Utilize the case’s cable management features, such as channels and grommets, to conceal cables.
Focusing on these optimization strategies ensures your vertically mounted GPU performs effectively without aesthetic or thermal compromises.
Conclusion
Vertically mounting your GPU enhances your PC’s appearance and can potentially improve performance. Following this guide, you’ve learned the benefits, preparation steps, installation process, and strategies to overcome possible challenges. Optimizing your system post-installation will ensure sustainable performance and cooling.
Frequently Asked Questions
Can vertical mounting affect GPU temperatures?
Yes, vertical mounting can affect airflow and result in higher temperatures. Proper adjustments and added cooling solutions can help manage this.
Do all cases support vertical GPU mounting?
Not all cases support vertical GPU mounting. Ensure your case is compatible or purchase a bracket and kit separately.
What is the role of a PCIe riser cable in vertical mounting?
A PCIe riser cable connects the GPU to the motherboard when mounted vertically, offering flexibility and maintaining performance.