
Does Doing a Factory Reset on a Phone Delete Your Google Account? The 2025 Android Explainer
Introduction
You plan to wipe your phone and start fresh. But one doubt stops you: does doing a factory reset on phone delete Google account? You do not want to lose Gmail, Photos, Drive, or Contacts. You also want to avoid getting stuck at the setup screen with an activation lock. This guide gives you a clear answer first. Then it explains how resets work, what Android keeps in the cloud, what Factory Reset Protection does, and how to avoid lockouts. You will also get a simple checklist to back up and reset safely, plus fixes if something goes wrong. By the end, you can reset with confidence and keep access to everything you need.
The next section delivers the short answer so you understand the core idea before we dive into the details of how resets interact with your device and the cloud.

Short Answer: What a Factory Reset Does—and Does Not—Do to Your Google Account
Here is the quick answer. A factory reset removes your Google account from the phone. It does not delete your Google account from Google servers. The reset erases local data stored on the device: signed‑in accounts, app data, downloads, messages, call logs, Wi‑Fi networks, and security locks. Your Google account and cloud content remain available. After the wipe, you can sign in again on the same phone or a new device and restore supported backups.
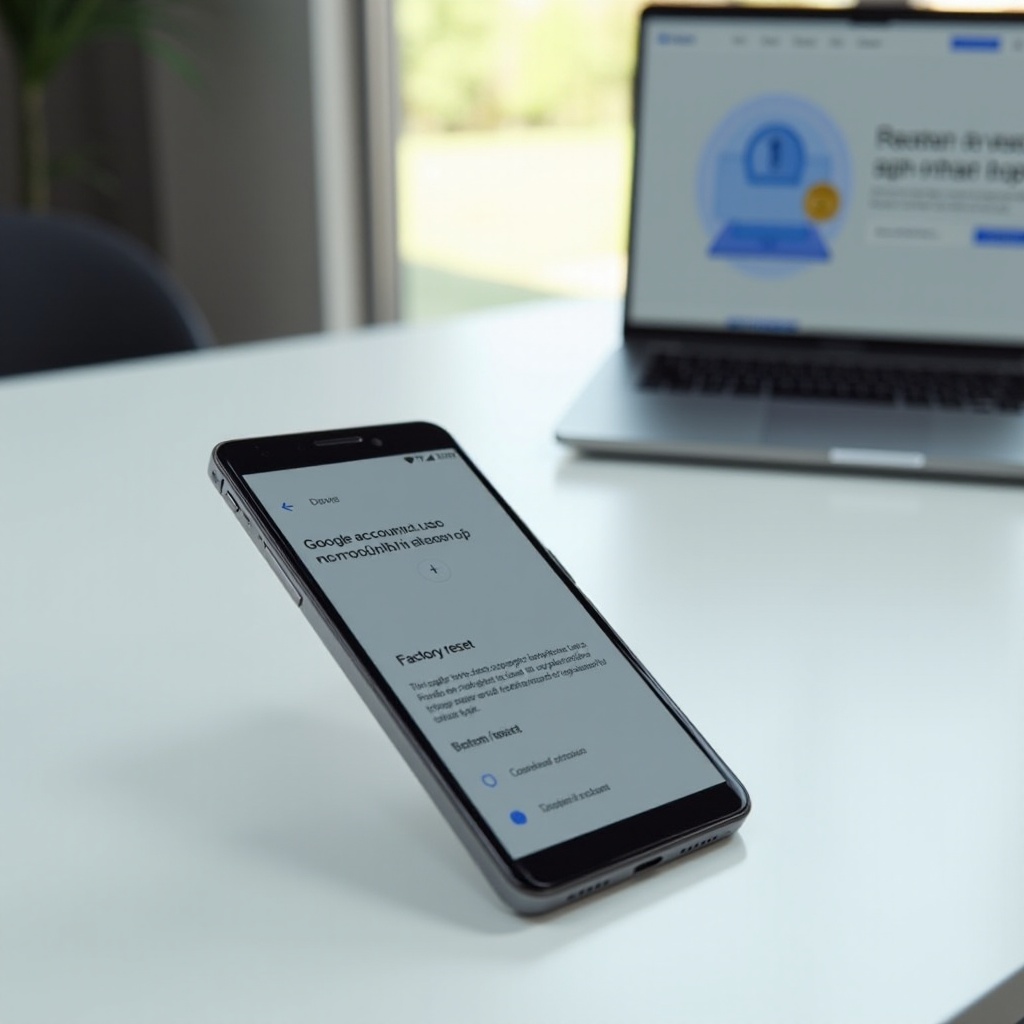
There is one important catch. If you reset without removing your Google account in Settings first, Android may enable Factory Reset Protection, also called FRP. During setup, the device can ask for the Google account that was previously on the phone. This step helps deter theft. But it can block you if you forgot your password or changed your number.
Now that you know what resets do and what they do not touch, let us look under the hood to see how a reset treats local storage versus cloud data.
How a Factory Reset Works: Local Device Wipe vs. Cloud Account Data
A factory reset targets the device. It restores the phone to its original software state and wipes user partitions. In practice, a reset removes:
– Google and other accounts you added
– App data, cache, and downloaded apps
– Messages, call history, and local media not backed up
– System settings, Wi‑Fi networks, and paired Bluetooth devices
– Screen locks, PINs, patterns, fingerprints, and face data
A reset does not touch information that lives on Google servers:
– Gmail, Contacts, and Calendar synced to your Google account
– Drive files and Docs, Sheets, and Slides
– Google Photos library that is backed up
– Play purchases, Play Pass, and Play Points
– Google One backups, if you enabled them
Think of a reset as clearing local copies and access tokens. Your account stays online. When you sign in again, the phone syncs with your Google account and pulls down data. This separation is why Android uses FRP. Without ownership checks, a thief could wipe a stolen phone and sign right in to your cloud data.
With that foundation, the next step is understanding what happens after the reset and how to restore your content smoothly.
After the Reset: Signing In, Restoring Backups, and Getting Set Up Again
After the device boots from a reset, you reach the setup screens. Connect to Wi‑Fi or mobile data. Choose to sign in with your Google account. If FRP is not active, you can use any Google account. If FRP is active, you must use the account that was on the device before the reset.
Android then offers to restore from a Google One backup if it finds one. A typical restore includes:
– Apps and some app data, depending on each app
– Call history, SMS if you backed it up, and device settings
– Wi‑Fi networks, wallpaper, and some permissions
Photos and videos return from Google Photos if you turned on backup. RCS messages can restore from Google Messages backup if available in your region. WhatsApp, Signal, and other chat apps have their own backup flows. Finish setup, allow permissions, and re‑enable your screen lock and biometrics.
Because setup often triggers FRP checks, the next section explains FRP in detail and shows how to avoid getting stuck.
Factory Reset Protection (FRP) Explained: Why You Are Asked for the Previous Google Account
Factory Reset Protection is an anti‑theft feature. If a phone is reset while still tied to a Google account and a screen lock, Android may require the same Google account during the next setup. This step proves that the person setting up the phone is the rightful owner.
FRP typically activates when:
– You reset from recovery mode or with external tools without removing the Google account in Settings first
– You reset from Settings while still signed in and a screen lock is set, depending on device policies
– You reset after a remote lock or erase issued by Find My Device
FRP often does not activate when you remove all Google accounts in Settings and disable the screen lock before you reset. If the setup prompts you for the previous account, enter the same Google email and password that were on the phone. If you forgot them, use Google account recovery to regain access. If you recently changed the password, you may need to wait 24 to 72 hours before you can use that account on a newly reset phone.
FRP affects the order of operations. To avoid headaches, you will want a strong backup plan and a clear checklist before you erase anything. That is exactly what we cover next.
Before You Reset: Backups, Security Codes, and Data You Should Save
Good preparation prevents data loss and lockouts. Work through this checklist before you start the reset:
– Back up with Google One: Go to Settings > Google > Backup. Turn on app data, call history, SMS, and device settings. Tap Back up now to create a fresh snapshot.
– Photos and videos: Open Google Photos, tap your profile, then Photos settings > Backup. Confirm backup is on and choose your preferred quality.
– Messages and chats: In Google Messages, enable any available backup options for RCS. For WhatsApp, open Settings > Chats > Chat backup and back up to Google Drive. For Signal, export an encrypted backup and store the passphrase securely.
– Contacts and calendars: Move local contacts into your Google account and confirm that contacts and calendars sync without errors.
– Files and downloads: Copy important files to Google Drive, another cloud service, or a computer.
– 2FA and passkeys: Add backup codes for your Google account and other critical logins. Update recovery email and phone. If you use an authenticator app, export or transfer your accounts where supported.
– eSIM and carrier: If you use eSIM, check your carrier app for a transfer option or get a new QR code before wiping.
– Payment and transit cards: Remove or suspend cards in Google Wallet. Check transit card transfer rules, which vary by city and card issuer.
– SD card: If it is encrypted, decrypt it first. Or remove and store it safely before the reset.
This prep gives you a safe path forward whether you keep the phone or pass it on. If you plan to sell or give it away, the next section shows how to clear FRP and hand off the phone cleanly.
If You Are Selling or Giving Away the Phone: Remove Accounts and Clear FRP Properly
When you transfer ownership, you need to erase data and remove activation locks. Follow this order:
– Remove Google accounts: Settings > Accounts > Google > Remove account for every profile, including work profiles
– Remove other accounts: Email, social, cloud storage, device management, and any enterprise accounts
– Turn off the screen lock and biometrics: Remove your PIN or pattern and delete fingerprint and face data
– Sign out of sensitive apps: Banking, 2FA, and password managers
– Unpair Bluetooth accessories and wearables; factory reset wearables if needed
– Perform the factory reset from Settings
After the wipe, stop at the welcome screen. To confirm FRP is clear, start setup and check that it does not prompt for a previous Google account. Then power off. Now the phone is ready to sell, trade in, or give away without risking a lock for the next user.
If you are resetting to keep using the device, your focus shifts from clearing locks to avoiding sign‑in trouble. The next section provides a clean, step‑by‑step method.
Step-by-Step: Safest Way to Factory Reset an Android Without Getting Locked Out
Use this sequence to reset safely and avoid FRP surprises:
1) Back up now: Enable Google One backup and run a manual backup. Confirm Google Photos and any chat backups are current.
2) Prepare 2FA: Generate backup codes for Google and other accounts. Make sure you can receive codes on a secondary device or by voice call.
3) Update recovery info: Visit myaccount.google.com to confirm recovery email and phone.
4) Handle eSIM: Transfer or release your eSIM via your carrier app, if needed.
5) Remove accounts: In Settings > Accounts, remove all Google and non‑Google accounts.
6) Disable lock screen: Remove your PIN or pattern and delete all biometric data.
7) Power and network: Charge above 50 percent and connect to a stable Wi‑Fi network.
8) Unpair and remove: Unpair Bluetooth accessories and decrypt or remove the SD card.
9) Reset from Settings: Go to Settings > System > Reset options > Erase all data (factory reset) > Erase all data.
10) Use recovery only if needed: If you cannot access Settings, boot to recovery and select Wipe data/factory reset.
11) First boot: If you keep the phone, sign in and restore your backup. If you sell it, leave it at the welcome screen.
If anything blocks you during setup, do not worry. The next section covers the most common problems and how to fix them fast.
Troubleshooting: Stuck on ‘Verify Your Account’, 2FA Issues, and Other Setup Snags
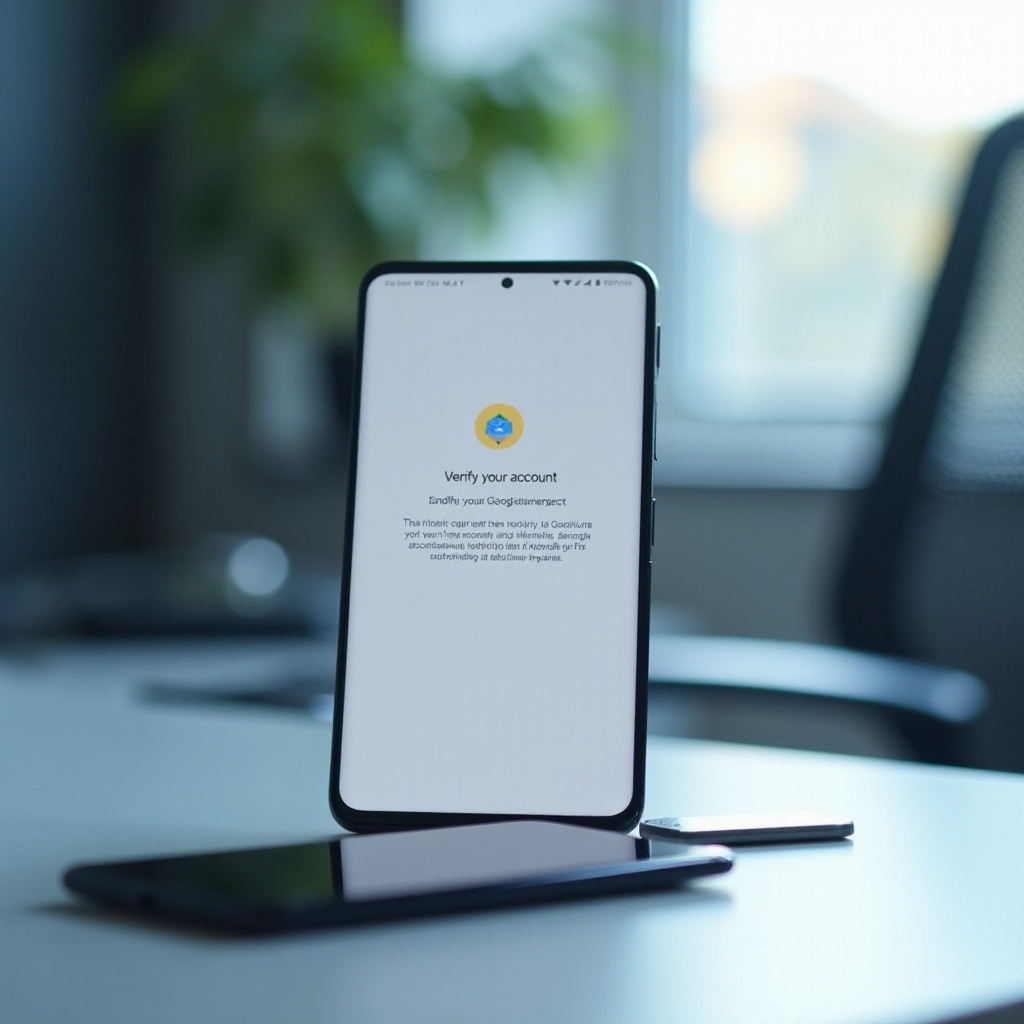
FRP prompt: If you see ‘Verify your account’, FRP is active. Enter the same Google email and password that were on the phone before the reset. If you do not remember them, go to accounts.google.com/signin/recovery on another device and follow the steps. If you recently changed your password, wait 24 to 72 hours before trying to use that account on the reset phone.
Bought a used phone and see FRP: Contact the seller. Ask them to sign in and remove the account, or return the device. Manufacturers and carriers usually cannot bypass FRP without valid proof of purchase.
2FA problems: If you cannot receive a code, try another method. Use backup codes you saved. Approve a prompt on another signed‑in device. Move your SIM to a different phone to receive SMS. Switch between SMS and voice call. If you use security keys, keep one handy during setup.
Connectivity and setup errors: Connect to stable Wi‑Fi or use mobile data. Fix the date and time if they are wrong. If the keyboard does not appear, toggle accessibility options or plug in a USB keyboard with an adapter. If you cannot proceed due to a carrier activation step, insert a physical SIM temporarily.
Once you pass setup, your next goal is to confirm what the reset did and what it did not do. The following section clears up myths that often cause confusion.
Myths vs. Facts: Common Misunderstandings About Resets and Google Accounts
- Myth: A factory reset deletes my Google account. Fact: A reset removes the account from the device but does not delete the account on Google servers.
- Myth: FRP is a backup tool. Fact: FRP is an anti‑theft check, not a data backup system.
- Myth: Clearing cache is the same as a full reset. Fact: Cache wipes do not erase accounts, apps, or user data.
- Myth: Any Google account can satisfy FRP. Fact: Only the account previously on the device works to pass FRP.
- Myth: A reset fixes all problems. Fact: Hardware faults or account issues can persist after a reset.
With the myths out of the way, lock down your new setup and confirm that backups are active. The next section gives you a quick security and privacy checklist.
Privacy and Security Checklist After You Reset and Sign Back In
Protect your fresh setup with these actions:
– Set a strong screen lock and re‑enroll biometrics
– Turn on Find My Device and allow location
– Enable Google Play Protect and app auto‑updates
– Review app permissions and revoke access you do not need
– Add payment cards carefully and enable transaction alerts
– Reconnect passkeys, security keys, and 2FA; store backup codes safely
– Turn on Google One backup and confirm the next scheduled backup
– Check recovery email and phone again under your Google account
You now have a clean, protected device. Let us close with the key takeaways so you can reset without stress the next time.
Conclusion
A factory reset removes your Google account and personal data from the phone, but it does not delete your Google account itself. Your Gmail, Photos, Drive files, and purchases remain safe in the cloud. The main risk is FRP, which may require the account previously on the device after certain types of resets. Avoid surprises by backing up, removing accounts, disabling the screen lock, and then resetting from Settings. If you keep the phone, sign in and restore your backup. If you sell it, stop at the welcome screen to confirm FRP is clear. With a solid checklist and a calm approach, you can erase and set up any modern Android phone without losing access or getting locked out.
Frequently Asked Questions
Does a factory reset delete my Google account from Google servers or just from the phone?
It deletes the account only from the phone. Your Google account remains on Google servers with Gmail, Photos, Drive, and purchases intact. After the reset, sign in to restore.
How do I avoid FRP lock if I am resetting before selling or trading in my phone?
Remove all Google accounts in Settings, sign out of other accounts, disable the screen lock, unpair accessories, and then perform the factory reset. After the wipe, stop at the welcome screen.
What if I forgot my Google password or changed my number and cannot get 2FA codes?
Use Google account recovery to reset your password and update recovery methods. Try backup codes, a secondary device, or a security key. If you changed the password, wait up to 72 hours.