
Do AIO Coolers Come With Liquid? The 2026 Builder’s Guide to Pre-Filled AIOs
Introduction
Do AIO coolers come with liquid? Yes, and that simple answer leads to the details that make or break a smooth build. You want to know what fluid is inside, whether you ever need to add more, and how to orient the radiator so air does not reach the pump. You also need a clear plan for unboxing, wiring, BIOS setup, and long term care. This guide gives you practical steps, clear warnings, and decision points so you can install a pre-filled AIO with confidence. We start by confirming the short answer, then move through the hardware inside the loop, why brands ship them sealed, and the few exceptions to refilling. From there, we cover mounting orientation, fan and pump control, maintenance, lifespan, and how warranties handle leaks. The sections connect so you can go from box to stable temps without guesswork. First, let us lock in the quick answer.
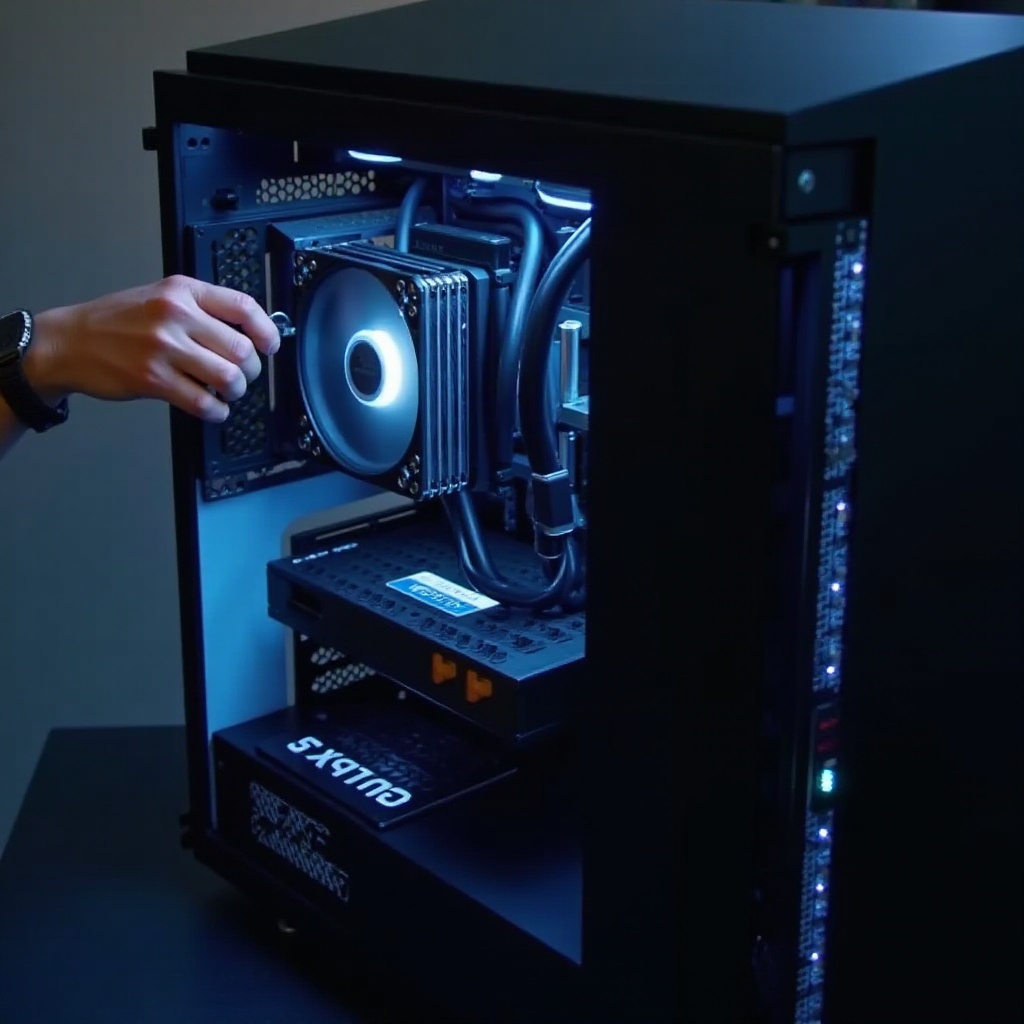
Quick Answer: Do AIO Coolers Come With Liquid? Yes they are Pre-Filled and Sealed
All in one liquid coolers ship filled with coolant from the factory. The loop includes a pump, cold plate, tubes, radiator, and a pre mixed fluid. You do not need to top it off out of the box. Brands pressure test and seal the loop so new builders can install without handling fluids. Most consumer models are not meant to be opened. Forcing a cap or pulling a hose can void the warranty and increase leak risk. A few semi serviceable models include a labeled fill port and specific instructions, but those are the exception. If the product page and manual do not state serviceable design, treat it as sealed. With that confirmed, the next step is to understand what is inside and how it works.
What is Inside an AIO Cooler: Pump, Radiator, Tubes, and Factory Coolant
An AIO integrates a compact pump, often in the CPU block, that pushes coolant through micro channels in a copper cold plate. The coolant absorbs heat from the CPU and moves it to the radiator. Fin stacks and attached fans dump that heat into case air or out of the case. Flexible, low permeation tubes connect the block and radiator, commonly rubber with nylon braid for durability and kink resistance. The factory coolant is a water and glycol blend balanced with corrosion inhibitors, biocides, and anti foaming agents. It is not magic and should be treated as a normal liquid around electronics. Many AIOs include a small air pocket by design to allow expansion with heat. That pocket must sit in the radiator, not the pump. This is why orientation matters. Before we mount, let us see why manufacturers pre fill and seal these units.
Why Manufacturers Pre Fill and Seal AIOs
Pre filling removes the mess and variability that come with open loop cooling. Factories control the fluid chemistry, volume, and headspace so performance is reliable across thousands of units. Sealing the loop keeps out dust, air, and contaminants, and it simplifies support and warranty coverage. Pressure tests and leak checks reduce failures before shipping. For you, that means a set and forget experience under normal use. Sealed does not equal unchanged forever, though. Over years, minute gas exchange through tube walls can increase the air pocket. That is called permeation. The best defense is correct orientation and regular dust maintenance. Since many buyers ask if they should add liquid when temps rise, let us cover refilling and exceptions before we install.
Do You Ever Need to Add Liquid? Understanding Exceptions, Risks, and Warranties
In almost all cases, you do not add liquid to a consumer AIO. Breaking a factory seal can void coverage, introduce contaminants, and increase the chance of leaks. If your model has a clear, labeled fill port and the manual describes topping off, you can follow that process with the specified coolant. If your model lacks a fill port, do not modify it. When temps rise after years of use, first clean the radiator, check fan curves, and confirm the pump runs at the target RPM. If performance remains poor and the pump tach looks normal, the cooler may be nearing end of life. Warranties in 2024 to 2026 often span three to six years and some brands include limited coverage for component damage from leaks under normal use. To decide whether you can top off or must RMA, you need to identify whether your unit is serviceable.
How to Tell if an AIO is Refillable or Serviceable
Confirm serviceability with a few checks:
– Look for a labeled fill port on the radiator or pump housing.
– Read the manual for maintenance or top off guidance.
– Check the product page for official instructions on fluid service.
– Review warranty terms; many sealed loops lose coverage if opened.
If none of those sources confirm serviceability, assume the unit is sealed. When unsure, contact the maker with the exact model number and ask. Whether sealed or semi serviceable, correct installation and orientation protect the pump and reduce noise. Before mounting, prepare the parts and verify fit.
Unboxing and Pre Install Checks: What to Inspect Before You Mount
A careful unboxing saves time:
1) Inspect the outer box and inner trays; document dents or punctures.
2) Examine tubes and fittings for kinks, cuts, or residue.
3) Check radiator fins; minor bends are cosmetic, crushed channels are not.
4) Confirm bracket and backplate support for Intel LGA1700 and AMD AM5.
5) Count fans and screws; match lengths to your case and radiator thickness.
6) Verify thermal paste presence, either pre applied or a separate tube.
7) Identify cables: pump tach lead, fan leads, and any RGB connectors.
Gently tilt the radiator; a faint liquid sound is normal. Plan where the radiator will go and how the tubes will route without sharp bends. With parts checked, you are ready to choose a mount that keeps air away from the pump.
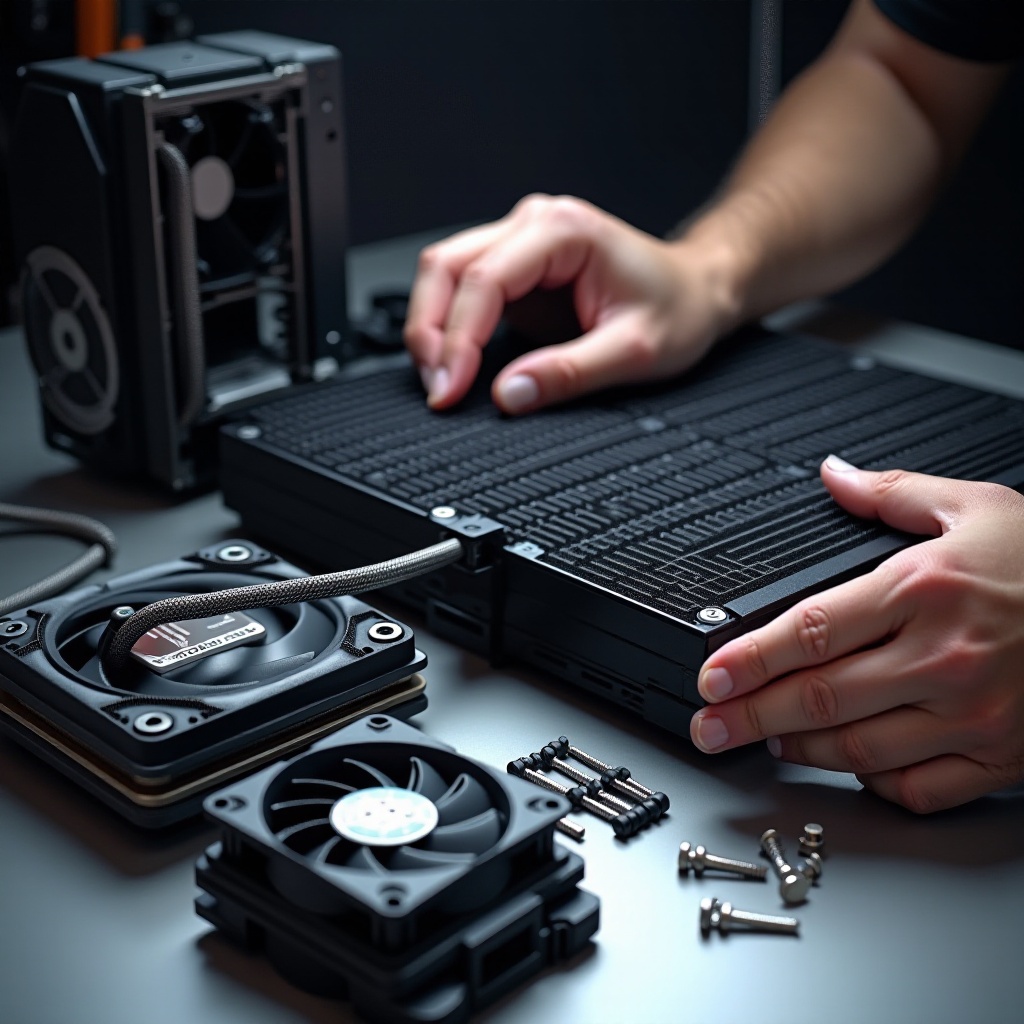
Mounting Orientation Best Practices: Top, Front, and Side Mounts Explained
The key rule is simple: keep the pump lower than the highest point in the loop so air sits in the radiator, not in the pump chamber. This reduces gurgles and protects the pump bearings.
Top Mount
A top mount works well for many mid towers. Place the radiator at the case roof and orient tubes down or to the side. Fans usually exhaust upward. The top tank becomes the high point, where air collects safely away from the pump. Check RAM and EPS cable clearance before final tightening.
Front Mount
A front mount is common in compact cases. Aim for tubes at the bottom so the highest point remains the top of the radiator. Run these fans as intake to feed cool air through the fins. Avoid tubes at the top if the pump ends up higher than the top tank, which can pull air into the pump.
Side Mount
Side mounts follow the same physics. Keep the top of the radiator higher than the pump and avoid making the pump the highest point in the loop. Test fit with the side panel off to check bends and fan direction.
Additional tips:
– Avoid tight tube radii that restrict flow.
– Leave space around the radiator face so fans breathe.
– Plan cable runs to prevent contact with fan blades.
With the radiator placed, it is time to wire power and set control curves so the pump and fans do what you expect.
Pump, Fan, and BIOS Setup: Headers, Curves, and RPM Targets
Connect the pump tach to the AIO_PUMP header if available, or to CPU_FAN per the motherboard manual. Many boards power AIO_PUMP at constant 12 V or full duty by default. Then wire radiator fans to CPU_FAN and CPU_OPT, to a fan hub, or to a controllable chassis header.
In BIOS, set the pump to a fixed high duty cycle, typically 80 to 100 percent, for steady flow. Create a fan curve tied to CPU temperature or a coolant sensor if supported. A coolant based curve responds smoothly and avoids rapid ramping. Enable thermal protections and alerts for CPU temp and pump RPM so you catch failures early. After you boot, confirm idle temps, run a short CPU load, and watch RPMs. You may hear some fluid sounds on first start. The next section helps you judge what is normal and what signals trouble.
Normal Sounds vs Warning Signs: Gurgles, Rattles, and Air Pockets
Soft gurgles or faint trickling noises at first power on are common as micro bubbles move to the radiator. These usually fade within minutes or after a few short power cycles. A steady whoosh from fans is normal under load. Warning signs include persistent grinding from the pump, sloshing that never settles, or sharp temperature spikes under modest loads while pump RPM reads steady. If sounds persist, gently tilt the case front to back and side to side to help bubbles migrate into the radiator. Do not shake the system. Recheck orientation and mounting pressure if gurgling continues. Once acoustics stabilize, keep performance high with simple, safe maintenance.
Maintenance You Should and Should not Do: Dusting, Paste, and No Opening
Basic care is enough for most AIOs:
– Dust the radiator and case filters every one to three months.
– Replace thermal paste every two to three years or when you remount the block.
– Inspect fans during cleaning; replace any with grinding or wobble.
– Update motherboard BIOS and fan control when vendors fix curve bugs.
Avoid risky actions:
– Do not open a sealed loop or add dye.
– Do not use tap water or mix unknown coolants.
– Do not overtighten radiator screws; they can puncture channels.
This routine prevents hot spots and keeps noise low. Even with good care, coolant volume and pump wear change slowly with time. Next, set expectations for service life and what to do when performance fades.
Lifespan, Evaporation, and When to Replace: What to Expect Over Time
Well installed AIOs usually last three to seven years, depending on use, ambient heat, and tube chemistry. Permeation allows tiny amounts of gas exchange through tube walls, increasing the air pocket and reducing effective head pressure. Signs of aging include rising idle temps, louder fan ramps for the same workload, or a new, faint pump rattle. Rule out dust, poor case airflow, and a loose mount first. If the pump reports normal RPM and you still see worse thermals, the unit may be near end of life. Many builders plan replacement around the end of the warranty, especially for high TDP CPUs. Keep your proof of purchase; in 2024 to 2026 many vendors honor RMAs within the stated term. If you see moisture or residue, treat it as a leak and follow safety steps before power on again.
Safety, Leaks, and Warranty Coverage: What Happens If Something Goes Wrong
Modern AIOs pass pressure and vibration tests, so leaks are rare. If you notice a sweet glycol smell, droplets near fittings, or dried residue on the radiator or block, act fast:
1) Shut down the PC and switch off the power supply.
2) Unplug the cord and do not try to boot again.
3) Take photos of the affected areas and record serial numbers.
4) Open a support ticket with the manufacturer and follow instructions.
Do not open the cooler before support responds. Opening can void coverage and spoil analysis. Keep packaging and receipts to speed the process. Many brands offer limited coverage for adjacent hardware damaged by a leak under normal use. With safety handled, you may still wonder whether an AIO is right for you compared with a tower air cooler.
AIO vs Air Cooler: Which Is Right for Your Build and Use Case
Pick an AIO if you want lower peak temperatures on high watt CPUs, clean RAM clearance, and a tidy look with flexible radiator placement. AIOs can sustain boost clocks longer during heavy loads such as renders and scientific compute. Pick a tower air cooler if you prefer fewer moving parts, easier installs, and long term reliability without pump noise. Top tier dual tower air coolers often match or beat 240 and some 280 mm AIOs at lower cost and with simpler upkeep. In small cases, a quality 240 mm AIO can outperform short towers by moving heat to the case edge. In roomy cases, a premium dual tower keeps up while avoiding pump failure risk. Your case support, noise goals, and budget will guide the choice. If you decide on an AIO, use a focused checklist to buy the right model for current platforms.
Buying Checklist for 2024 to 2026: Compatibility, Warranty, and Noise Priorities
Confirm these points before you buy:
– Socket support for Intel LGA1700 and AMD AM5 out of the box.
– Radiator support for your case: length, thickness, and fan count.
– Tube length and swivel fittings for clean, strain free routing.
– Warranty length in years and stated leak coverage terms.
– Pump design pedigree, rated RPM, and noise specs.
– Fan quality: static pressure rating, bearing type, and smooth PWM control.
– Control options: AIO_PUMP header, fan hubs, RGB headers, and software.
– Extras that save time: pre applied paste, clear manuals, extra screws.
Shortlist two or three models, read recent user and lab reviews, and compare thermals at matched noise levels. Favor brands with responsive support and clear warranty policies. With parts chosen, you are ready to install and enjoy stable performance.
Conclusion
AIO coolers do come with liquid. They arrive pre filled, sealed, and ready to mount, which makes installation simple even for first time builders. Focus on orientation so air stays in the radiator, wire the pump for steady power, and build a smooth fan curve that tracks CPU or coolant temperature. Keep dust off the radiator and refresh thermal paste every few years. If performance drops later, check airflow, mounting pressure, and pump RPM before assuming a failure. Plan for a service life of several years and verify warranty coverage in case of defects. If you want fewer moving parts, a quality air cooler remains a strong alternative. With these steps and checks, you can run quiet and cool across 2024 to 2026 and beyond.
Frequently Asked Questions
Do AIO coolers come with thermal paste, or do I need to buy my own?
Most AIOs include thermal paste. Many ship with paste pre applied on the cold plate; others include a small tube. If you plan to remount later, buy an extra tube so you have it ready.
Can I run my AIO cooler without liquid or after a partial leak?
No. A pump without sufficient coolant can overheat and fail. If you suspect a leak, power down, unplug, document the issue, and contact support. Do not try to refill a sealed AIO.
How long does AIO coolant last, and when should I replace the cooler?
Factory coolant is designed to last through the warranty, often three to six years. If temps climb after cleaning and the pump reads normal RPM, the cooler may be near end of life.