
Fix Water Damaged Laptop: A Complete Step-by-Step Guide to Save Your Data and Device
Introduction
Liquid and laptops do not mix. One quick, calm response can rescue a soaked machine and the files you rely on every day. A rushed mistake can short the board and trigger corrosion. This guide shows how to fix a water damaged laptop safely and clearly. You will learn the right first moves, safe drying methods, careful cleaning, and controlled testing. You will also learn when to stop and call a repair shop.
Speed matters because power and liquid cause shorts. The first goal is to cut power and stop the spread. Then you remove moisture and clean residue. You power on only when you are sure the device is dry and clean.
Each section builds on the last. Start with urgent actions. Avoid myths that make things worse. Move into drying, opening, and cleaning the insides. Finish with power-on tests and repair choices. If the laptop still fails, you will know how to protect your data and plan next steps.
This foundation sets up the fast actions that come next.

Immediate Actions to Fix a Water-Damaged Laptop (First 5 Minutes)
Act now. Every second counts. Your goal is to stop current, remove liquid, and prevent spread.
Cut power safely: unplug and hold the power button
- Unplug the charger at once.
- If the screen is on, hold the power button for about 10 seconds to force shutdown.
- If safe, remove a removable battery. Do not pry or force a sealed pack.
- Do not try to save a document. Power off first. You can recover files later.
Flip, drain, and blot—no shaking
- Close the lid gently if the spill hit the keyboard.
- Turn the laptop so the keyboard faces down. Use a tent or V shape to drain.
- Blot visible liquid with a lint free cloth or paper towels. Do not wipe liquid into openings.
- Do not shake the laptop. Shaking spreads liquid deeper into the chassis.
Remove accessories, SSDs, and external power
- Disconnect all cables, USB drives, and docks.
- Eject the SIM tray in LTE models if present. Moisture can hide there.
- Remove a removable battery now. Skip removing the internal SSD unless you already plan to open the case safely.
These steps stabilize the device. The next section prevents common mistakes that can ruin recovery.
What Not to Do After a Spill (Myths to Avoid)
The wrong fix can turn a simple cleanup into board damage. Skip these myths to protect your laptop.
Rice, hairdryers, and ovens: why they cause more damage
- Rice does not dry a laptop. It traps moisture and sheds dust.
- Hairdryers and heaters push moisture deeper, warp parts, and speed corrosion.
- Ovens, radiators, and sun exposure can damage the battery and the display.
Do not press keys or open and close the lid repeatedly
- Pressing keys or the trackpad pushes liquid into the internals.
- Opening and closing the lid wicks moisture into the screen assembly.
Avoid powering on until completely dry
- Do not check if it works. A wet board can short instantly.
- Power on only after a full dry and inspection.
By avoiding these traps, you keep damage from getting worse. Now, position the laptop to drain safely.
Safe Draining and Positioning to Prevent Spread
The right position helps gravity move liquid out and limits where it can travel.
Inverted tent and keyboard-down methods
- Place the laptop in an upside down V shape on a towel.
- If the hinge allows, set it keyboard down with ports facing downward so moisture exits quickly.
Protect the display and prevent wicking into the panel
- Keep the lid closed or only slightly open so liquid does not wick into the screen.
- If fluid reached the top edge, stand the laptop so the hinge is low to reduce flow into the panel.
Once drainage is controlled, address the internal power source. Batteries can feed current even when the machine is off.
Power and Battery: Disconnecting Without Damage
You must isolate power rails before deeper work. A battery can keep circuits live and cause hidden shorts.
Removable vs sealed batteries: safest approach
- Removable battery: take it out now and set it aside on a dry, non conductive surface.
- Sealed battery: leave the laptop off, then plan to open the case if you have the tools and skills.
Internal battery connectors and ESD precautions
- If you open the laptop, disconnect the internal battery first. Look for a clear battery connector or pull tab.
- Ground yourself to avoid static discharge. Use a wrist strap or touch a grounded metal object.
- Never puncture, bend, or heat a battery. If it is swollen or wet, stop and seek help.
When to stop and leave it to a professional
- Stop if the battery is glued and hard to access.
- Stop if you see liquid near the battery pack or smell sweet or burnt odors.
- A pro can de energize the board and prevent further harm.
With power isolated, set up your workspace and gather safe cleaning tools.
Tools and Supplies Checklist for Liquid Damage Repair
A clean, organized workspace prevents mistakes. Keep parts in order and work under good light.
High-purity isopropyl alcohol and soft brushes
- Use 90 to 99 percent isopropyl alcohol to displace water and clean residue.
- Use soft anti static brushes for connectors and board edges.
Torx and Phillips drivers, spudgers, and magnetic trays
- Use quality drivers for your model.
- Plastic spudgers help lift clips and connectors without damage.
- A magnetic parts tray keeps tiny screws sorted.
Desiccants, fans, and lint free cloths
- Silica gel packs help absorb moisture in a closed container.
- A small fan aids gentle airflow. Avoid heat.
- Lint free cloths blot spills without leaving fibers.
With tools ready, dry the laptop properly. Drying sets the stage for safe cleaning and testing.
Drying That Works: Airflow, Desiccants, and Time
Drying is not a race. Slow, steady airflow prevents trapped moisture and warping.
Gentle cross ventilation, not heat
- Set a fan to blow across, not into, the laptop.
- Aim for room temperature. Avoid space heaters and direct sun.
- Keep vents and ports facing down so moisture exits, not deeper in.
Drying timelines: 24, 48, and 72 hour checkpoints
- First 24 hours: drain and surface dry. Do not power on.
- At 48 hours: open the case if you can. Inspect for moisture and residue.
- At 72 hours: after cleaning and re drying, prepare for controlled testing.
Spot checking moisture without powering on
- Use a flashlight to inspect connectors, ports, and seams for water beads.
- Check under stickers and shields if accessible.
- If you see moisture, extend drying by 12 to 24 hours and recheck.
When you are ready and patient, opening the device helps you dry hidden pockets and clean deposits.
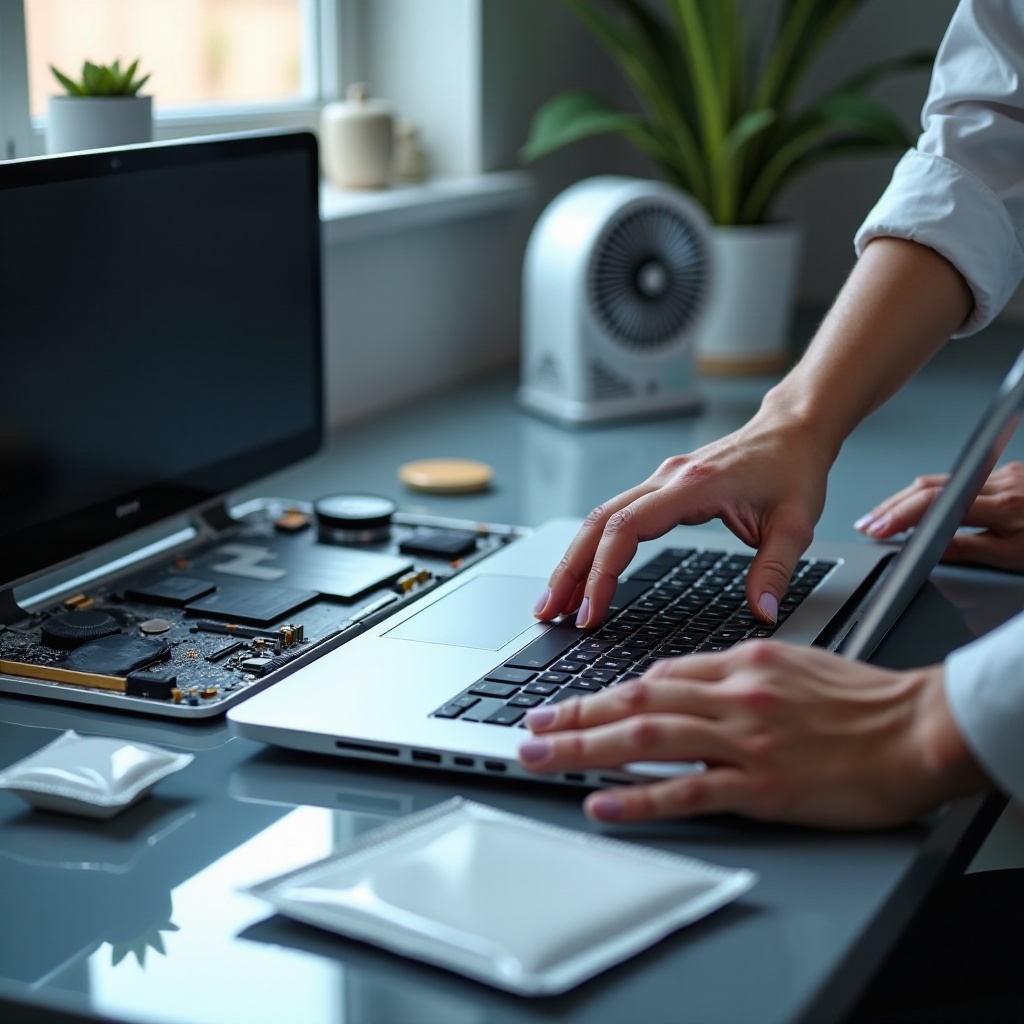
When and How to Open the Laptop (Tools and Precautions)
Opening the laptop allows targeted drying and cleaning. Work slowly and track each step.
Model research and step by step service guides
- Look up a teardown or service manual for your exact model.
- Note screw types and hidden clips. Prepare the right bits.
- Photograph each step so reassembly is simple.
Disconnect the battery first: order of operations
- Remove the bottom cover and disconnect the battery before any other cable.
- Next, disconnect keyboard, trackpad, speakers, and display cables as needed.
- Keep each cable grouped with its screws and brackets.
Handling ZIF connectors, flex cables, and shields
- Unlock ZIF latches gently and pull flex cables straight out by the tab.
- Do not pull by the cable itself. Avoid creasing.
- Lift EMI shields slowly and replace them after cleaning.
With safe access, you can remove residue and stop corrosion before it spreads.
Cleaning Corrosion and Residue with Isopropyl Alcohol
Water leaves minerals. Coffee and soda leave sugar and acids. Clean them before they eat traces.
Visual signs: white fuzz, green or black tarnish
- White or chalky deposits mean dried minerals.
- Green or black patches on copper pads indicate corrosion.
- Sticky films near the keyboard and ports point to prior spills.
Wick and brush technique, not soak and scrub
- Dampen a brush with isopropyl alcohol. Do not flood the board.
- Wick liquid away with a lint free swab as you loosen residue.
- Clean connectors, pins, and around chips with light strokes.
Post clean drying and reinspection
- Let the board air dry for at least an hour.
- Inspect again with a flashlight and a magnifier.
- If corrosion remains, repeat with fresh alcohol until pads look clean.
Different liquids call for different tactics. Match your approach to the spill for best results.
Different Liquids Require Different Fixes
Not all spills are equal. Conductivity and residue vary by liquid type. Tailor cleaning to the contaminant.
Plain water vs distilled water: conductivity and residues
- Tap water contains minerals that leave deposits. Clean with alcohol and dry longer.
- Distilled water leaves fewer minerals but still causes shorts when wet. Treat it with the same caution.
Sugary drinks: sticky films and keyboard risks
- Soda and juice leave sugar that attracts moisture and causes keys to stick.
- Remove the keyboard if possible. Clean both sides. Replace if keys remain sticky or dead.
Saltwater and rain: mineral deposits and extra care
- Saltwater is highly conductive and corrosive. Clean as soon as possible.
- Rinse affected boards with distilled water first, then follow with alcohol. Dry thoroughly.
- Rain can carry dust and salts. Treat like tap water with extra inspection.
Alcoholic beverages and dairy: proteins, dyes, residues
- Beer and wine leave sugars and dyes that stain and corrode.
- Milk based coffee adds proteins and fats that spoil and smell. Clean promptly and consider replacing the keyboard membrane.
With liquid type in mind, factor in design differences before reassembly and testing.
MacBooks vs Windows Laptops: Key Differences in Liquid Damage Repair
Design choices change how liquid spreads and how you repair the device.
MacBook LCIs, sealed batteries, and USB-C power delivery
- Many MacBooks use sealed batteries and strong adhesive. Plan careful opening.
- Liquid Contact Indicators turn red when wet. Document them for insurance but do not rely on them alone.
- Inspect USB-C ports for corrosion. MacBooks depend on them for power and data.
Ultrabooks and gaming laptops: airflow paths and keyboard assemblies
- Ultrabooks often have glued batteries and low profile keyboards. Avoid prying at angles.
- Gaming laptops have large vents and fans. Liquid can pool under heat pipes. Inspect both fans and voltage regulation areas.
- Many gaming keyboards are modular. Replacement may be easier than deep cleaning.
Chromebooks and education models: spill channels and design
- Some models include spill resistant channels that route liquid away. Fluid may exit near the touchpad.
- Do not assume survival. Open and inspect anyway. Hidden pools can linger under the board.
Once you understand the layout, decide which parts to clean and which to replace to avoid repeat issues.
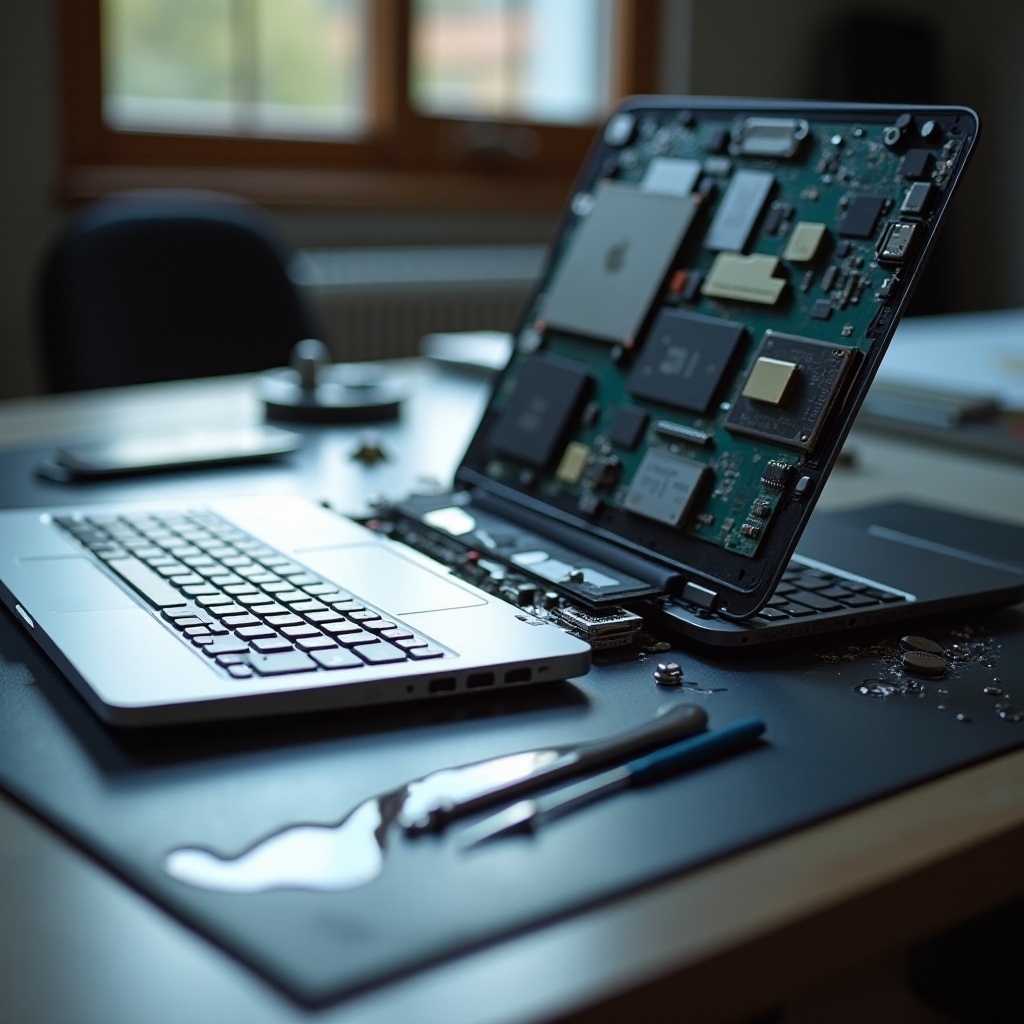
Keyboard, Trackpad, and Ports: Repair or Replace
Peripherals often take the hit. Fast choices here save time and reduce callbacks.
When cleaning is enough vs swapping assemblies
- Clean if keys feel normal and there is no visible residue.
- Replace if keys stick after cleaning or if backlight zones fail.
- Sealed membrane assemblies often need replacement, not cleaning.
Sticky or dead keys: replacement realities
- Sticky keys may work for a while, then fail. Do not trust them long term.
- Some laptops ship the keyboard as part of the top case. Factor parts and labor.
USB-C and charging ports: post spill checks
- Inspect for bent pins, discoloration, or debris.
- Clean gently with alcohol and a soft brush. Do not use metal picks.
- If charging is unstable or gets hot, replace the port or seek a pro.
With peripherals sorted, you can attempt a controlled power on that reveals deeper faults without adding new damage.
First Power-On Protocol and Post-Repair Checks
A staged test prevents repeat damage and helps you isolate faults.
Low risk power on with external display and adapter
- Reconnect the battery last. If possible, power on with the charger only.
- If the built in display looks odd, test with an external monitor.
- If the laptop shuts down or loops, power off and inspect again.
Battery health, thermals, and fan behavior
- Check battery status in the operating system. Watch for sudden drops or charging errors.
- Monitor temperatures and fan ramp. Unusual heat points to shorts or residue.
- Run light tasks first. Avoid heavy loads until stable.
Keyboard matrix, speakers, Wi Fi, and camera tests
- Test every key and modifier. Use an online keyboard tester.
- Play audio through speakers and headphones. Check the mic and camera.
- Verify Wi Fi and Bluetooth. Ports and card readers should detect devices.
If it still will not boot or acts unstable, shift focus to your files before more repair attempts.
If It Still Will not Start: Data-First Triage and Next Steps
Hardware can fail, but your files may survive. Protect data before deeper repair.
Safely removing and imaging the SSD
- If your laptop uses a removable M.2 or 2.5 inch drive, remove it carefully.
- Avoid flexing the board. Label screws and standoffs.
- Let the drive dry if damp. Then move it to a clean enclosure.
Bridge boards, enclosures, and write blocking
- Use a USB or Thunderbolt enclosure to connect the SSD to another computer.
- For critical data, use a write blocker or mount read only.
- Image the drive before browsing files. Keep a backup copy.
Board level repair vs replacement options
- If the drive is soldered, seek a pro who can power the board safely for data extraction.
- Weigh logic board repair against replacement costs and downtime.
- If liquid hit power delivery or the CPU, replacement may be faster and safer.
With your data safe or a plan in place, set a budget and timeline so you can choose between repair and replacement with confidence.
Costs, Timelines, and When to Call a Pro
You need clear expectations to make the right call.
Typical parts costs and labor ranges
- Keyboard or trackpad: 30 to 250 dollars for parts, 1 to 3 hours labor.
- Ports and small boards: 20 to 120 dollars for parts, 1 to 2 hours labor.
- Logic board repair or swap: 150 to 700 dollars or more, 2 to 5 hours labor depending on model.
Warranty, insurance, and liquid contact indicators
- Manufacturer warranties rarely cover liquid damage.
- Check credit card or home insurance for accidental damage coverage.
- Document liquid contact indicators, corrosion photos, and invoices for claims.
Choosing a reputable repair shop
- Look for clear diagnostics, written estimates, and data safe practices.
- Ask about ultrasonic cleaning and board level experience.
- Read recent reviews and confirm parts sourcing and return policy.
Whether you repair or replace, a few habits will lower the odds of another spill and reduce risk if it happens again.
Prevention Tips: Avoid the Next Spill
Small changes lower risk and protect your files.
Desk habits and cable management
- Keep drinks on a separate surface or on the far side of your dominant hand.
- Route cables away from cups to avoid snags and knocks.
Spill resistant accessories and keyboard covers
- Use a spill resistant external keyboard. It is cheap to replace.
- Laptop keyboard covers can help, but remove them during heavy use to avoid heat buildup.
Backups and surge protection
- Keep automatic cloud or external backups. Test restores.
- Use a surge protector or a UPS to reduce risk during storms and outages.
These practices complement the repair steps and keep you ready.
Conclusion
You can fix a water damaged laptop if you act fast and follow safe steps. Cut power first. Drain and dry without heat. Open the device if you can, isolate the battery, and clean residue with high purity isopropyl alcohol. Replace parts that stay sticky, corroded, or unreliable. Test in stages and watch temperatures and power behavior.
If the laptop still fails, shift focus to your data. Remove and image the SSD if possible. Call a pro for soldered storage or board level work. Use costs and timelines to decide between repair and replacement. Finally, adjust your setup to prevent spills and keep automatic backups. A smart, calm response protects your device and the files that matter most.
Frequently Asked Questions
How long should I wait before turning my laptop back on after water damage?
Wait at least 48 to 72 hours after you stop the spill, drain, open, and clean the laptop. Drying time depends on how much liquid entered and whether you opened the case. Inspect ports, connectors, and under shields with a light. If you see any moisture or residue, extend drying by 12 to 24 hours. Power on only when you are confident it is dry and clean. If you cannot open the laptop, wait longer and consider a professional inspection.
Can I fix a water-damaged laptop without opening it?
Sometimes, but results vary. For small splashes that stayed on the keyboard, gentle draining and long drying may work. However, liquid often reaches the keyboard membrane, trackpad, and ports. Drying without opening can leave hidden residue that causes later failure. If the laptop holds critical data or shows unstable behavior, open it or have a pro do it. Internal cleaning with isopropyl alcohol removes deposits that simple drying cannot.
Is rice ever safe to use for drying a wet laptop?
No. Rice does not pull moisture out of a laptop effectively and sheds dust. Use gentle airflow, time, and desiccants like silica gel in a closed container. For best results, open the laptop, disconnect the battery, and dry internal parts. Clean corrosion with high-purity isopropyl alcohol. Avoid heat sources such as hairdryers or ovens, which can warp parts and speed corrosion.